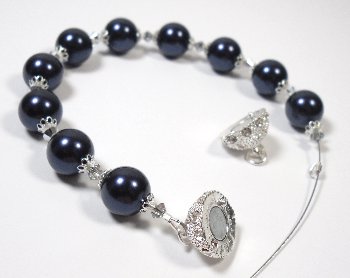
Audrey Crystal Pearls Bracelet (...just a little help)
Please be careful when working with small, sharp components; protect your eyes - this project is designed for ages 16 and over; the components, tools and finished article are not toys.
Challenge Level - 2
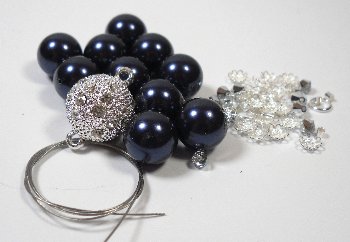
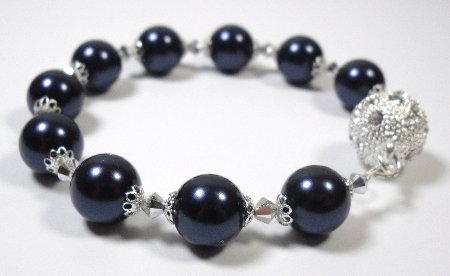
Audrey Swarovski Crystal Pearls Bracelet; with a choice of various colour
ways - you'll get to practice your stringing and crimping with this kit;
you'll be using Swarovski crystal pearls, Swarovski crystal and gold-plated
or silver plated findings, you should make this bracelet features stringing
and just a little wire-wrapping - made with crystal, seed beads and silver-plated
components, the bracelet will take around 1 hour to make..
You'll need a bead mat (or similar - to stop your components rolling away), crimping pliers, side cutter pliers and two pairs of snipe nose pliers.
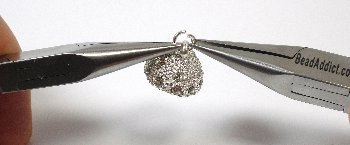
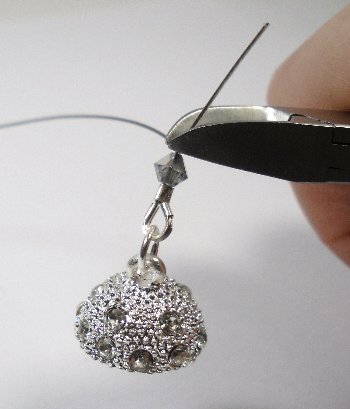
This is where two pairs of pliers are useful - but if you only have one, you can use these and your fingers on the other side if you wish.
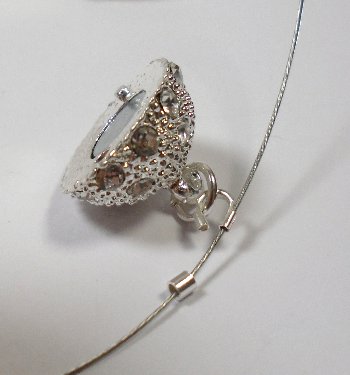
Thread your 'horseshoe' on to the end of the clasp as shown then pass the thread through the tube part of the horseshoe, bring the thread over through the horseshoe and back through the second part of the tube - then pass the thread through the crimp.
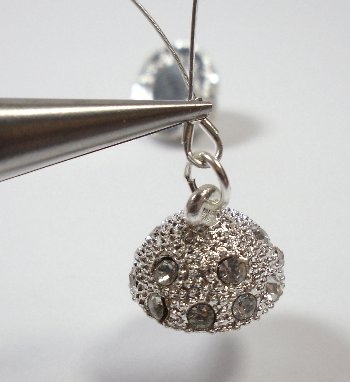
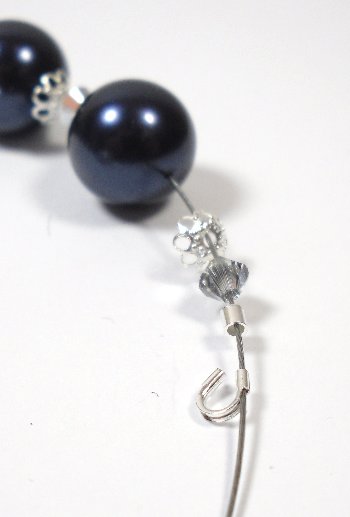
String on a crimp, add your horseshoe fitting.
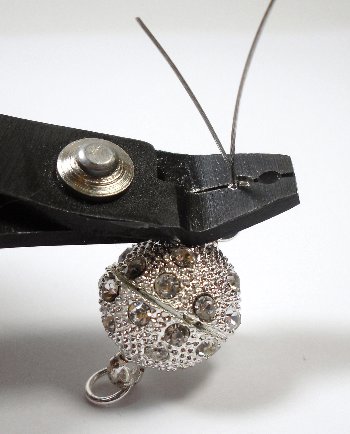
Tighten up the stringing by snugging the thread as shown -
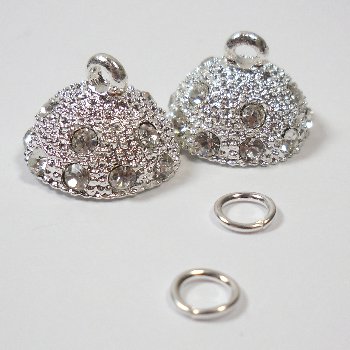
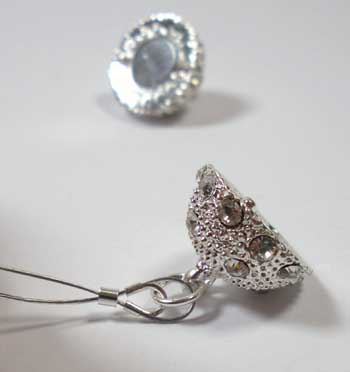
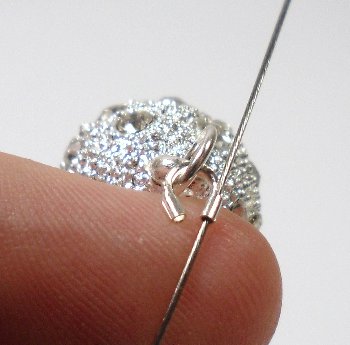
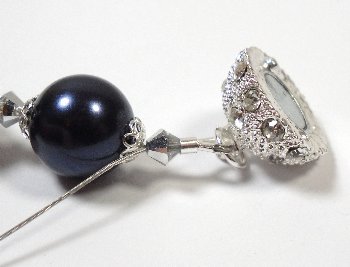
Notice the 'locating pins' inside the clasp shown in this photo.
Each half of the clasp has a locating pin to ensure a correct
fit. The magnet and clasp is very secure when these are aligned correctly.
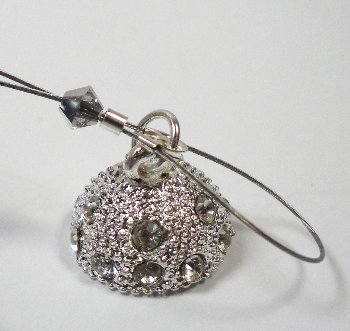
Voila, you're done!