 |
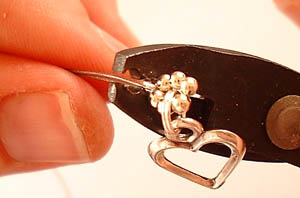
Here you can see the tube crimp bead,
part of the toggle clasp on a split ring and some 1mm round beads threaded
onto Beading thread (I am using Beadalon Professional in these photos).
|
 |
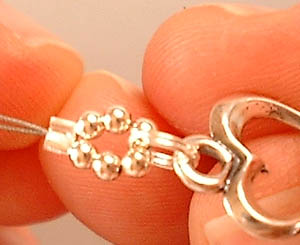
Bring the other end of the beading
thread back through the tube crimp; this makes a neat ring of little
beads with the clasp in the centre, and crush the crimp bead with your
pliers.
|
|
|
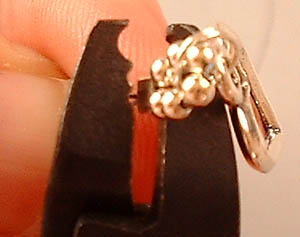
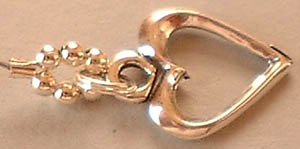
Using your crimping pliers using the
back notch, press an indentation into the tube crimp so you have a definte
'V' shape in the centre of the tube.
|
 |
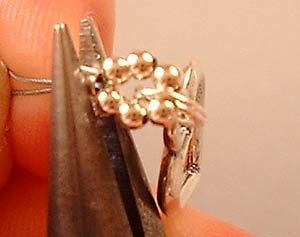
The 'V' shape and the enclosing loop
of little beads shown more clearly.
|
 |
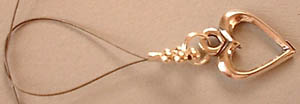
Using the back of the jaw of your crimping
pliers, gently bend the 'V' shape round to form a neat tube.
|
 |
Using the rolling notch in your crimping
pliers, neaten the roundness of the tube shape.
|
 |
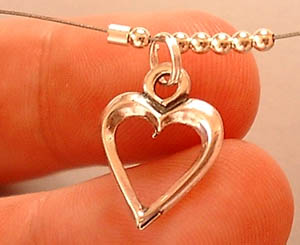
Here is the completed clasp, ring and
rolled crimp.
|
 |
For extra security, I usually tie off
the tails of the beading thread a couple of times; some thread won't
do this without dire results but Beadalon Professional is designed to
be tied as well as crimped - there are other threads that will tie after
crimping like this, so just experiment with your preferred one to see
if it will allow you to do this; for added security, you could dab a
dot of glue over this knot.
|
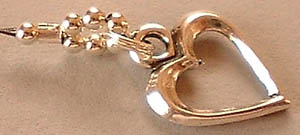 |
Finally, I always slip another small
bead on after the rolled crimp, this bead will slide over the knot to
hide it, provide more security and make a neat starting point for your
stringing.
|
 Basket &